.png)
How to write and publish your knowledge base articles
-

- Giovanni Troisi
 25 August 2022
Write an article on Tiledesk Help Center is a very easy operation that you can perform in different ways. Continues the reading to know all you need to know about creating, editing and publishing articles.
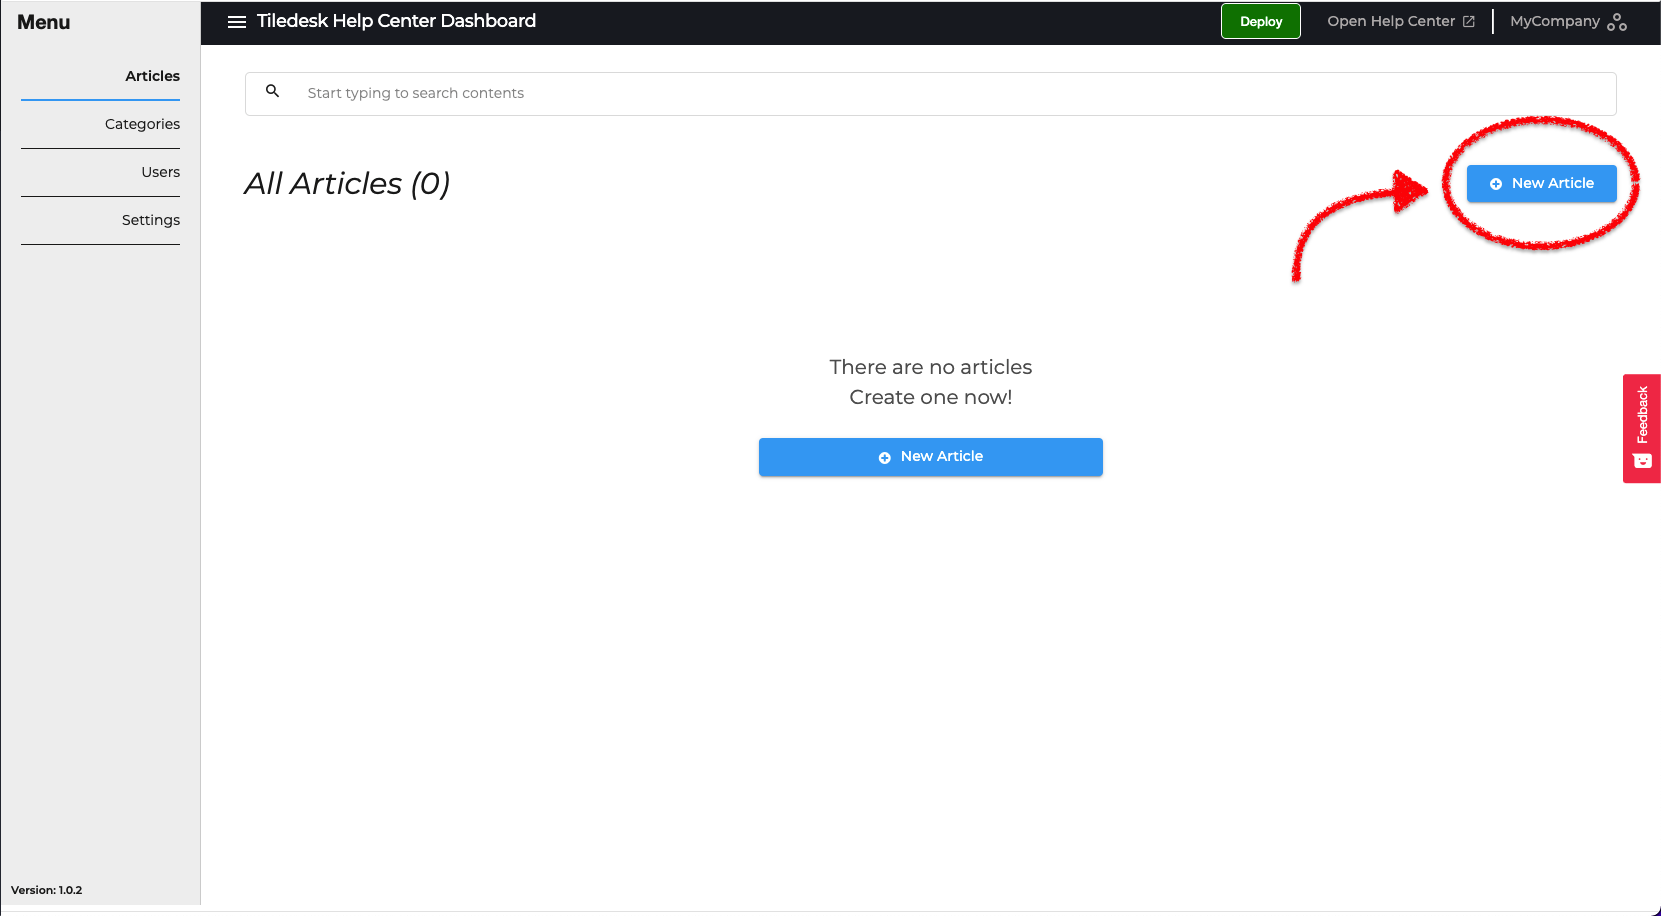
1. Create a new article
You can start writing a new article simple clicking on the New Article button located to the top right side of the Homepage (Articles).
Before start typing let see the most important settings of and article.
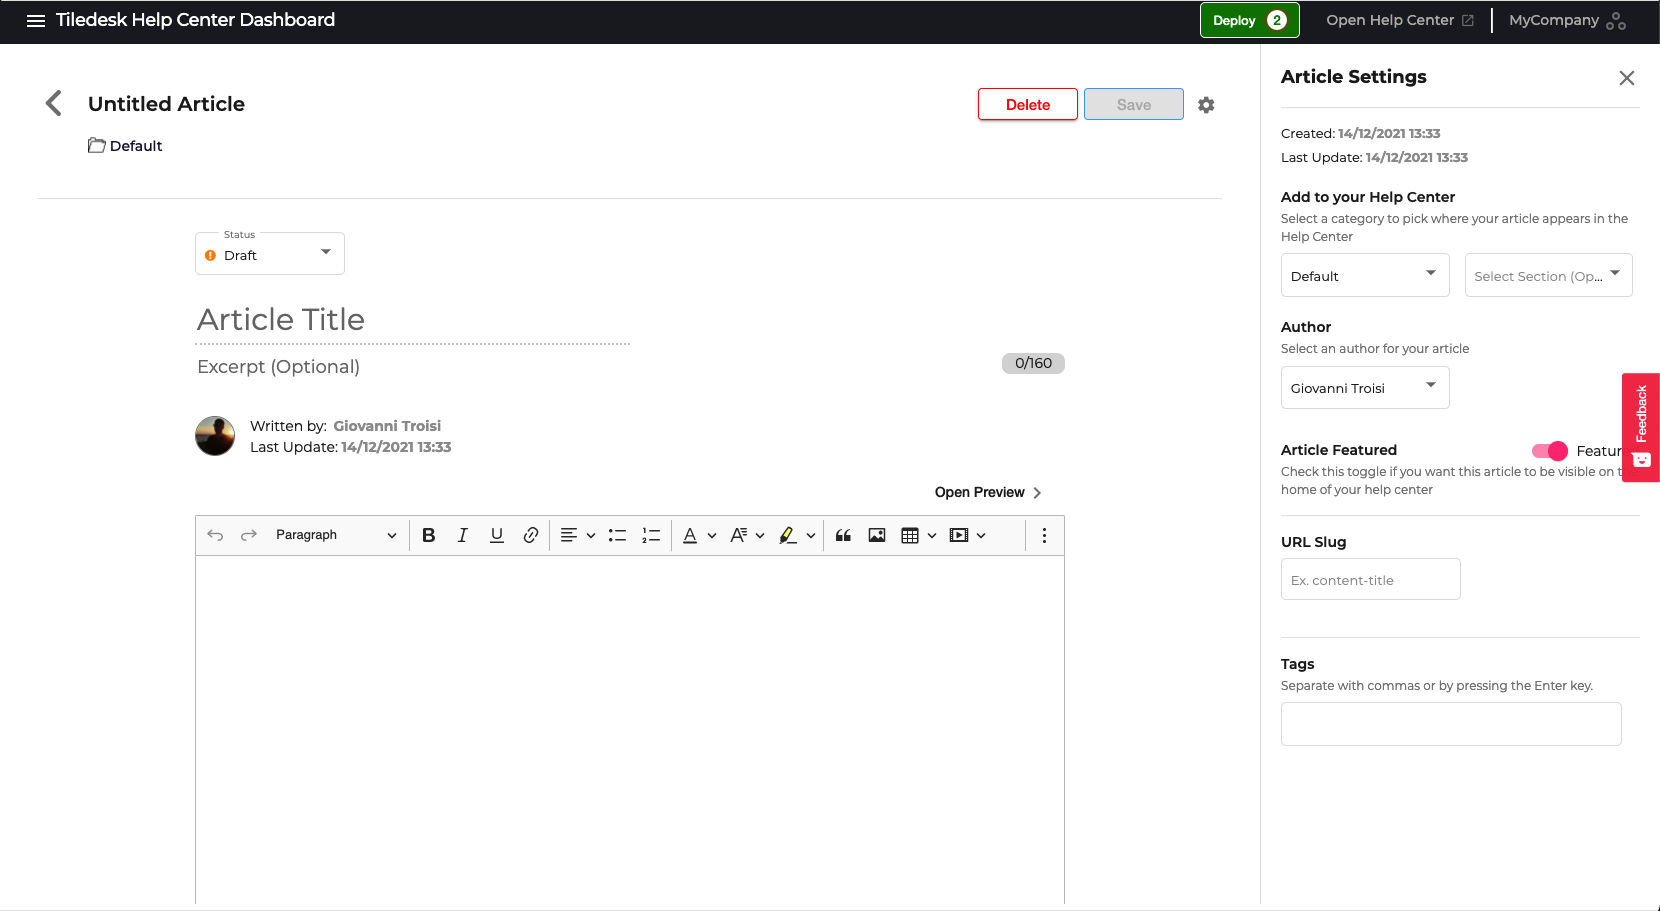
2. Article Settings
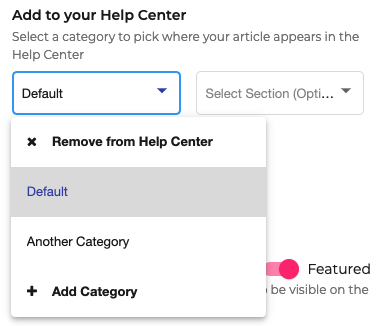
Select a category
In order to make visible an article on you help center, it must belong to a category. Select a category to pick where your article appears in the Help Center. Optionally, you can select a section also. For more information about Categories and Section, please read Create, Delete and Manage Categories.
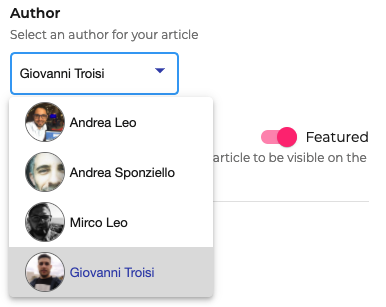
Select an author
Tiledesk Help Center select automatically the current user that is using the dashboard. However, you can change the author of an article by selecting another from those who have installed the Help Center on your current Tiledesk project.
Article Featured
Articles featured are visible in the Homepage of your Help Center when the view style is set in "Categories and Featured Articles" or “Both”. For more information about the styling of the Help Center, please read How to style the Help Center.

URL Slug
The slug of an article is the last part oh his path. It is automatically generated from the article title taking into consideration that this must be unique throughout your help center. However, you can change it simply by editing this field.

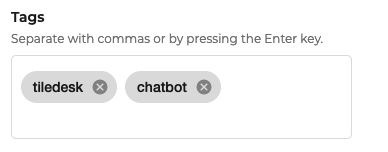
Tags
Tags are useful for indexing your article by search engines like Google. Enter keywords related to your article for better indexing.
3. Title and Body
Once we have learned what it takes for the article to be published correctly, we can finally start writing.
Type the title of the article. Optionally, you can also type the excerpt of the article.
You can proceed with the body of the article, using the editor. The editor allow you to divide the text in paragraph, format the text, insert table or code snippet, insert links, images and videos and much more.
4. Publish an article
Articles are Draft by default. When you article is ready, change the status from Draft to Public to make visible the article on your Help Center.
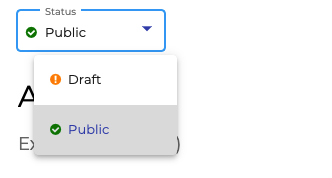
The public articles will be published at the next Deploy. Read Deploy your Help Center for more information.
5. Other method to create a new article
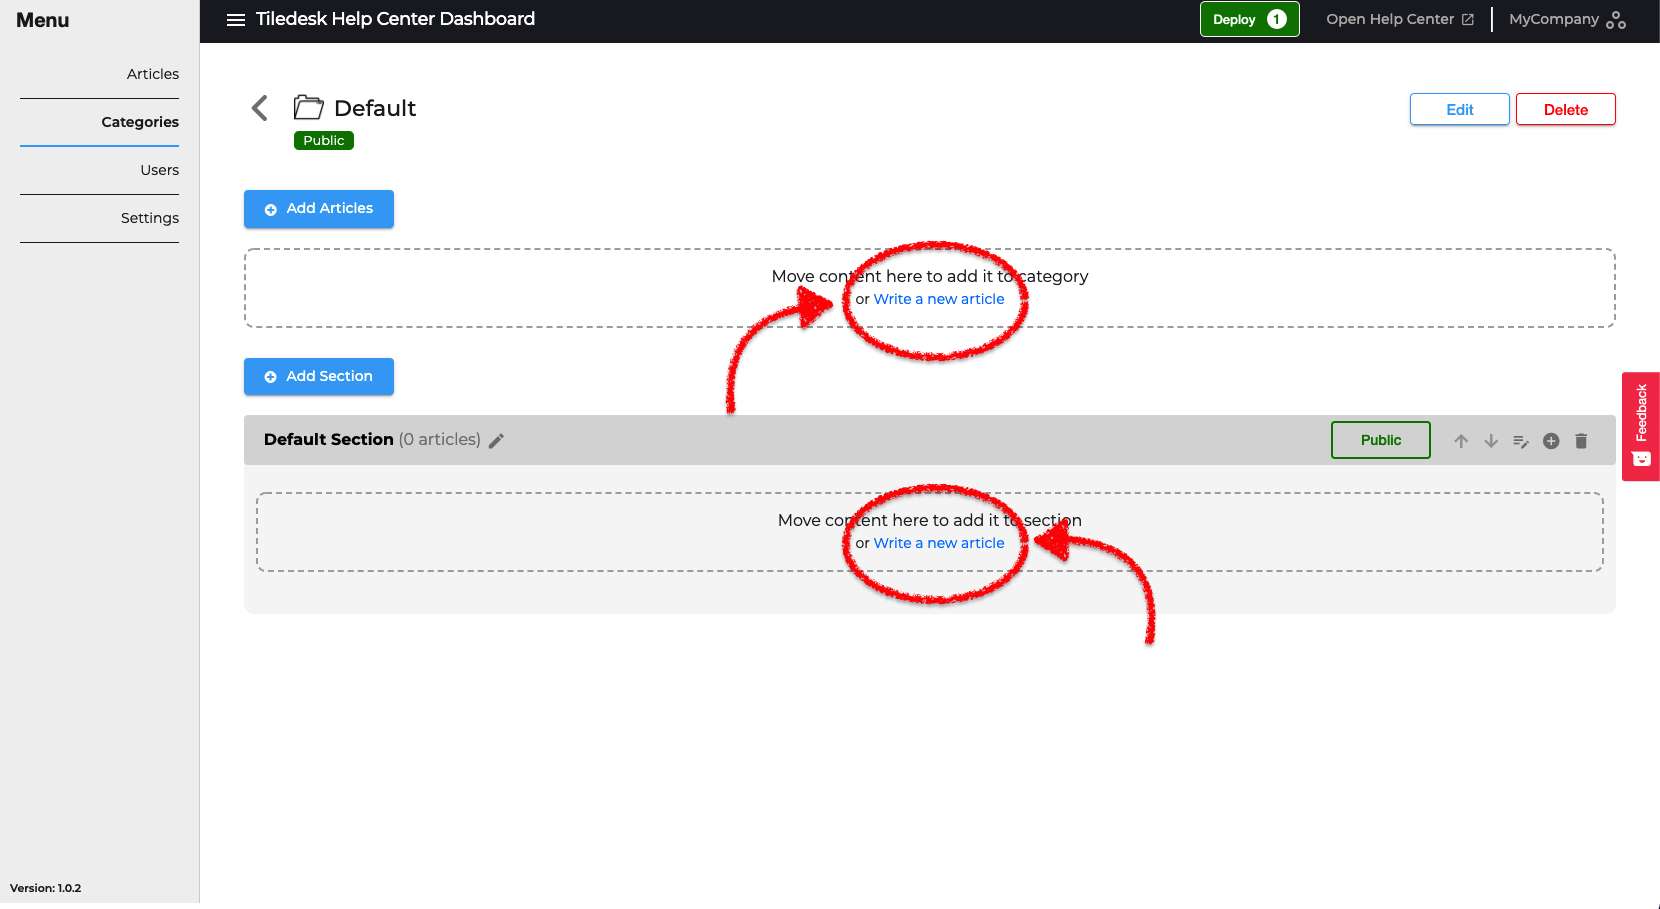
From a category
You can start writing an article directly from a category. When you install the Help Center Dashboard for the first time, a category named Default is automatically generated. However, if there is no category in your Help Center or if you want to create a new category, please read Create, Delete and Manage Categories.
From the sidebar click on Categories, then select a category from the list. You are now in the Category Detail page. Click on Write a new article to start writing an article for that category.
From a section
Like before, click on Write a new article below a section to start writing an article for that category and that sections.
Please note that if there are already articles for a category or section, the buttons to write a new article move as shown.
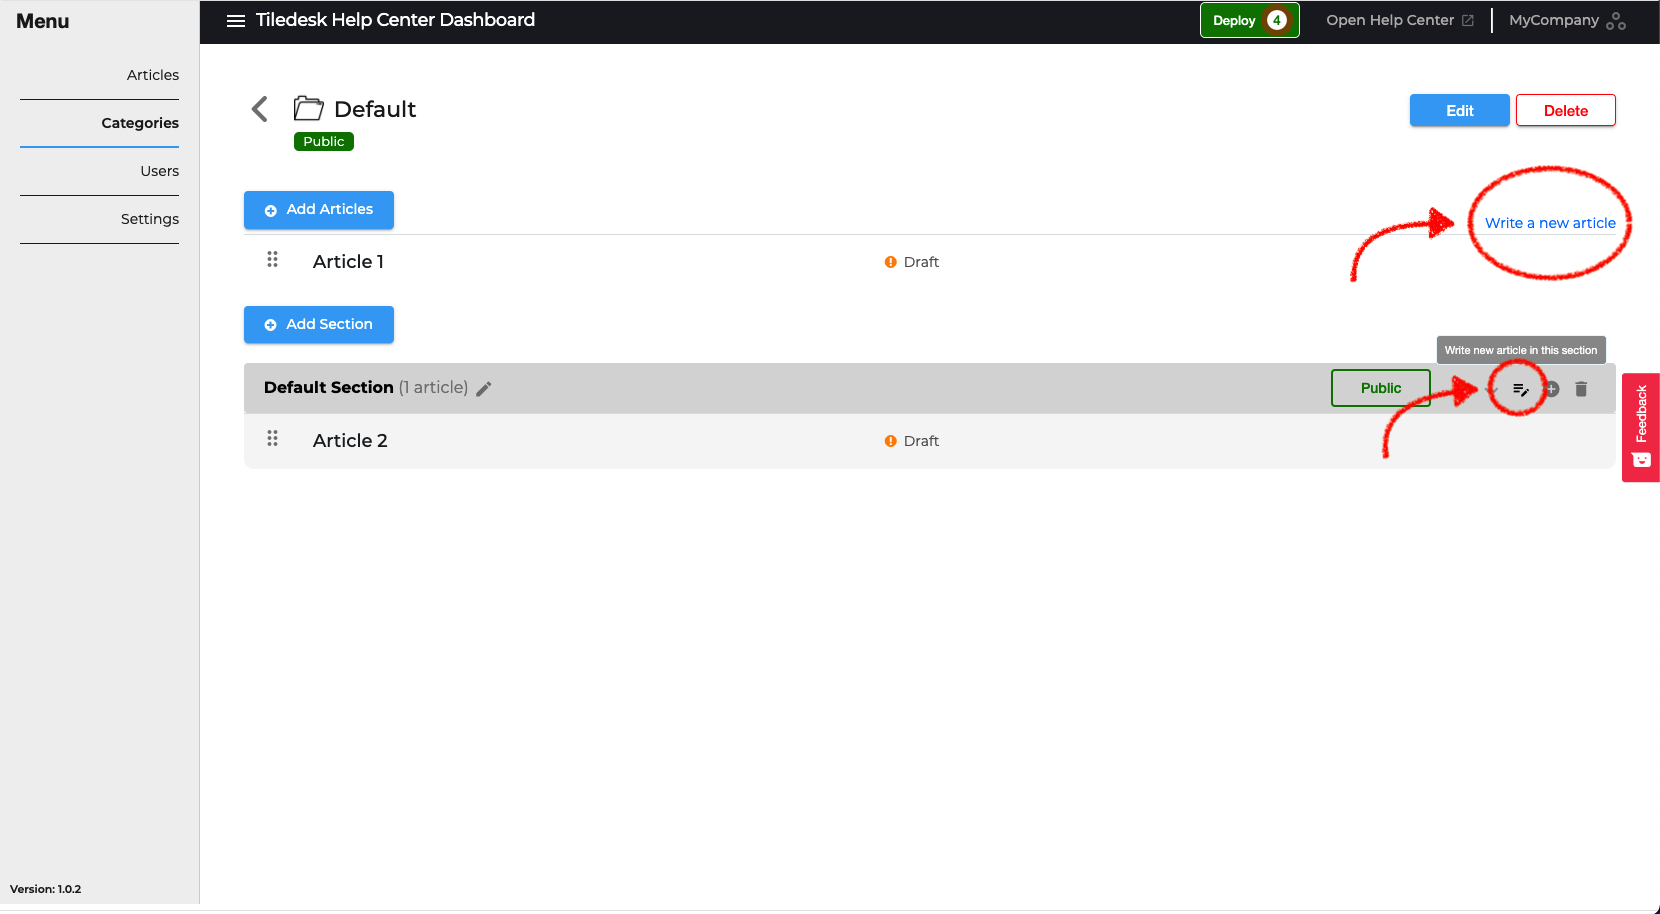
Enjoy!
Please feel free to send feedback about this tutorial to support@tiledesk.com. Thanks!
Finally, check our Blog to discover how a chatbot can interact with the knowledge base to automate customer service.